From GitHub to Zenodo: Make Your Code and Data Citable
You have finished an analysis. The scripts are on GitHub, the figures look right, and the manuscript is nearly ready. Then comes a small question: what should someone cite if they use your code?
A repository link helps people find the project. But the code on its default branch keeps changing. A reader returning next year needs a clear way to retrieve the version behind your published results.
This is where Zenodo helps. It archives a research output and assigns it a Digital Object Identifier (DOI), a persistent identifier that can be cited in a paper. GitHub’s integration with Zenodo connects that archive to your release workflow. GitHub’s citation guide describes the setup.
Think of a release as a research checkpoint
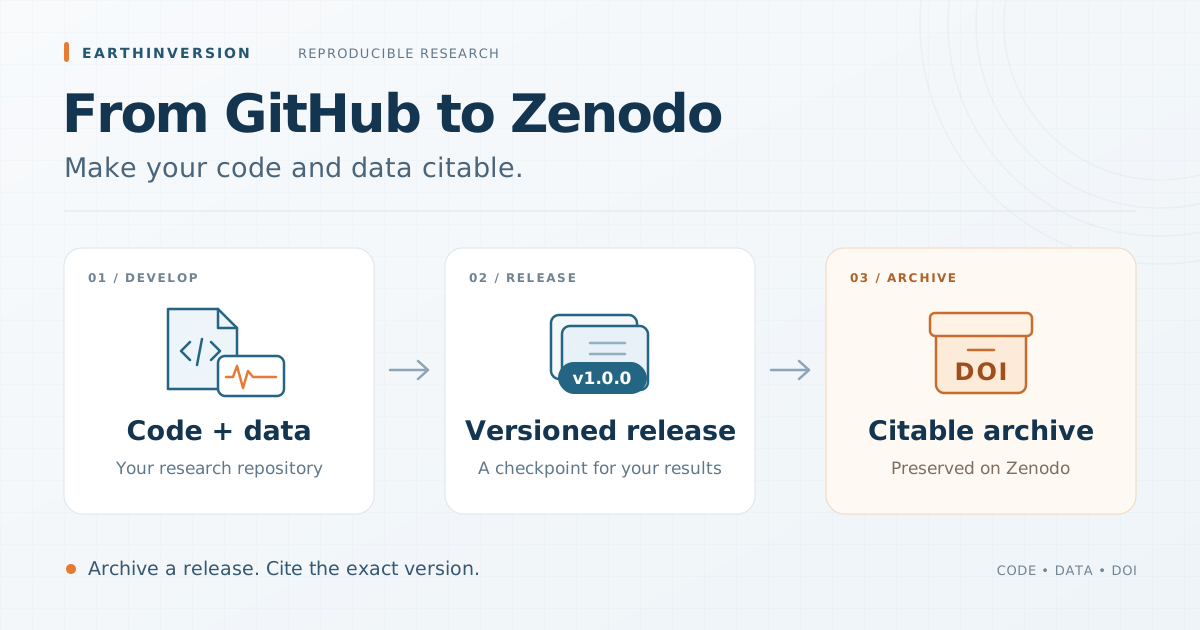
Suppose you have a seismic-processing project with Python scripts, a small example waveform, and a notebook that reproduces a figure. You continue improving the project on GitHub. When the paper is ready, you mark the corresponding version as v1.0.0.
Zenodo can preserve that release and give it a DOI.
The important detail is the trigger: a new GitHub release creates an archive; an ordinary commit does not. This is a series of research checkpoints, rather than continuous synchronization of every change.
1. Prepare a useful repository
Before creating the release, check that another researcher could understand what you have shared:
- A
README.mdexplains the project, installation, inputs, and how to reproduce an example. - A dependency file records the software environment.
- A license states how the code may be reused.
- The repository contains only material you have permission to share.
The GitHub integration requires a public repository. Review its contents before connecting it.
Also consider adding a CITATION.cff file with the project title, authors, ORCID identifiers, version, and license. GitHub can use it to show citation information, and Zenodo supports it when importing release metadata. If you also have a .zenodo.json file, Zenodo gives that file priority. See Zenodo’s metadata guidance.
2. Connect GitHub and enable the repository
Log in to Zenodo and link your GitHub account, reviewing the requested permissions.
Then open GitHub from Zenodo’s profile menu:
- Click Sync now to refresh your repository list.
- Find the repository you want to archive.
- Turn its switch on.
Enable the repository before creating the release you want archived. Zenodo’s repository setup guide confirms that the integration processes new releases after connection.
3. Publish a release on GitHub
In your GitHub repository, open Releases and choose Draft a new release.
Choose a version tag such as v1.0.0, confirm that it targets the intended code, and add a short description. For our example:
Processing scripts, example waveform, and notebook used to reproduce the seismic-analysis figure.
When everything is ready to become public, click Publish release. Saving a draft alone does not complete this step. GitHub’s release instructions explain the available options.
Return to Zenodo and wait for processing to finish. Open the resulting DOI link and check the archived files, title, author names, ORCIDs, license, and version. Download the archive once to confirm that it contains what you expect. If processing fails, Zenodo exposes the errors under the release entry. See its archiving guide.
What about the data?
Small example datasets committed with your source can accompany the code archive. Larger waveform collections or datasets that deserve their own citation are usually clearer as separate dataset records.
For these, use Zenodo’s New upload workflow: upload the actual files, select the dataset resource type, and describe their contents, provenance, units, processing, and reuse license. Include a README and link the dataset and software records to each other.
A URL in your repository does not archive the files at that URL. Check that the deposited data are complete and that you have redistribution rights. Zenodo’s quick-start guide covers uploading, reviewing, and publishing a record.
Which DOI should you cite?
Zenodo distinguishes between:
- Version DOI: identifies one specific release.
- Concept DOI: represents the work across its versions.
For a paper, cite the version DOI corresponding to the code or data you actually used. Use the concept DOI when referring to the project as a whole. Zenodo explains the distinction in its DOI versioning guide.
Finally, add the DOI link or badge to your README so readers can find the archive easily.
The practical workflow is simple: develop on GitHub, archive meaningful releases on Zenodo, and cite the version behind the result. A useful README, documented data, and a tested example turn that citation into something another researcher can actually use.
Disclaimer of liability
The information provided by the Earth Inversion is made available for educational purposes only.
Whilst we endeavor to keep the information up-to-date and correct. Earth Inversion makes no representations or warranties of any kind, express or implied about the completeness, accuracy, reliability, suitability or availability with respect to the website or the information, products, services or related graphics content on the website for any purpose.
UNDER NO CIRCUMSTANCE SHALL WE HAVE ANY LIABILITY TO YOU FOR ANY LOSS OR DAMAGE OF ANY KIND INCURRED AS A RESULT OF THE USE OF THE SITE OR RELIANCE ON ANY INFORMATION PROVIDED ON THE SITE. ANY RELIANCE YOU PLACED ON SUCH MATERIAL IS THEREFORE STRICTLY AT YOUR OWN RISK.
Leave a comment