Introduction to Python for beginners
Introduction
Python has become the most popular language for programming and its community is huge, active and ever-increasing. Before Python, MATLAB was the preferred language for the scientific community but now most of the researchers are migrating to Python. Like MATLAB, Python is quite easy to use but over that Python can be used for the system control, software developing, easy integration with other languages like FORTRAN, C , etc. This makes it extremely popular among all sorts of communities. Some P.Is want their students to work in Python because according to them, even when the students want to switch the field or simply leave the field, it could still be useful to them.
If you are familiar with other programming languages including MATLAB, then its very easy to switch to Python. Though, there are some issues the beginners and the MATLAB users face while making a move to Python. Here, let us deal with that issue and get started with Python.
Key idea — three things beginners often confuse. Python is the language itself. conda (installed by Miniconda/Anaconda) is a package and environment manager — it puts a Python interpreter on your machine and installs libraries like numpy and pandas into isolated environments. Jupyter Notebook is just one interface for writing and running Python interactively, cell by cell. You install Miniconda once, use conda install to add the libraries you need, and then open Jupyter (or any editor) to write code. None of them replaces the others — they stack.
Getting started with Python
We will use Python 3 — the only version you should install today.
Ignore Python 2 — it is gone. When this tutorial was first written you had to choose between Python 2.7 and 3.x. That choice no longer exists: Python 2 reached end-of-life on 1 January 2020 and receives no more updates or security fixes. Even Python 3.6 (mentioned in older guides) is long past its end-of-life. Just install the latest Python 3 — as of 2026 that is the 3.13/3.14 series. Everything below works the same; only the version number is newer.
Download
Python can be downloaded directly from its official website https://www.python.org/downloads/.
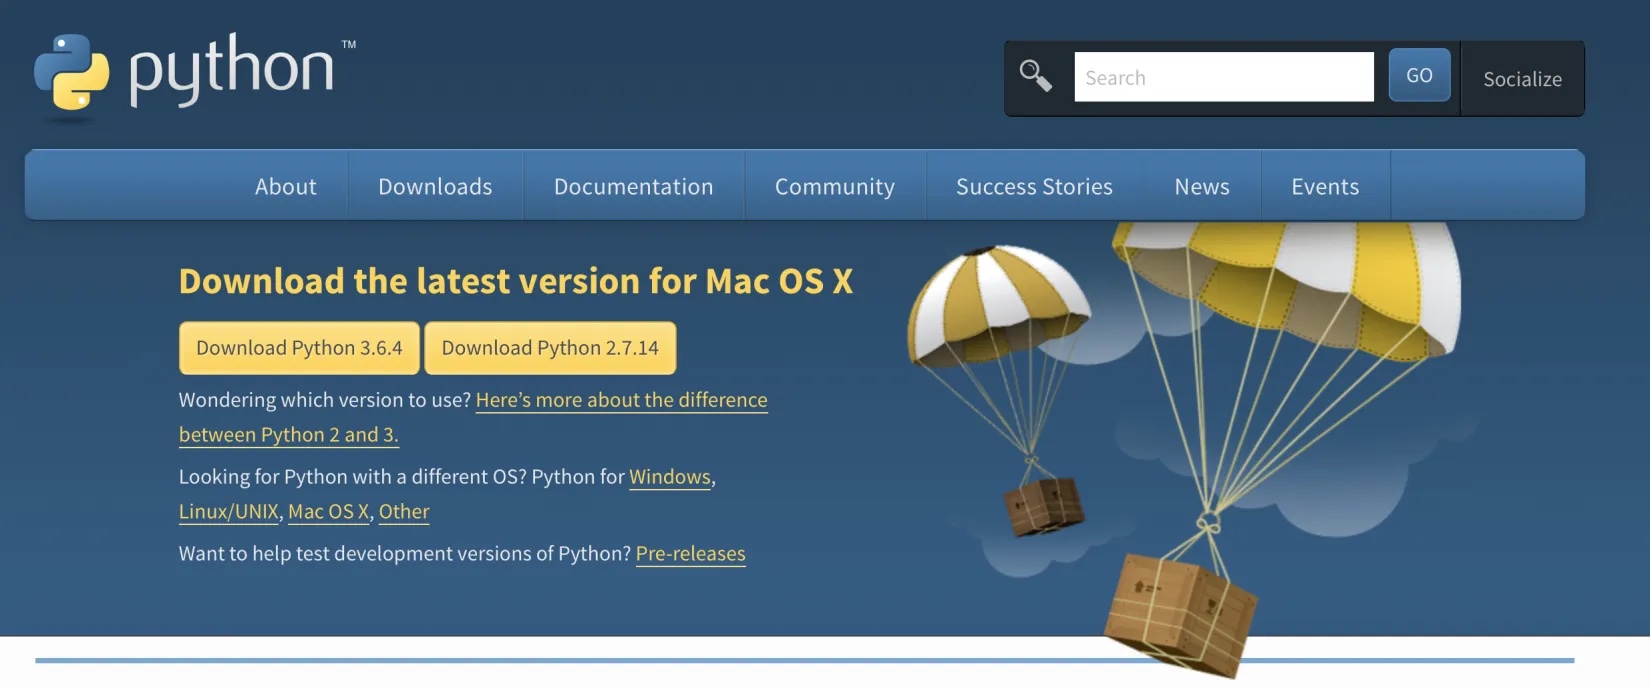
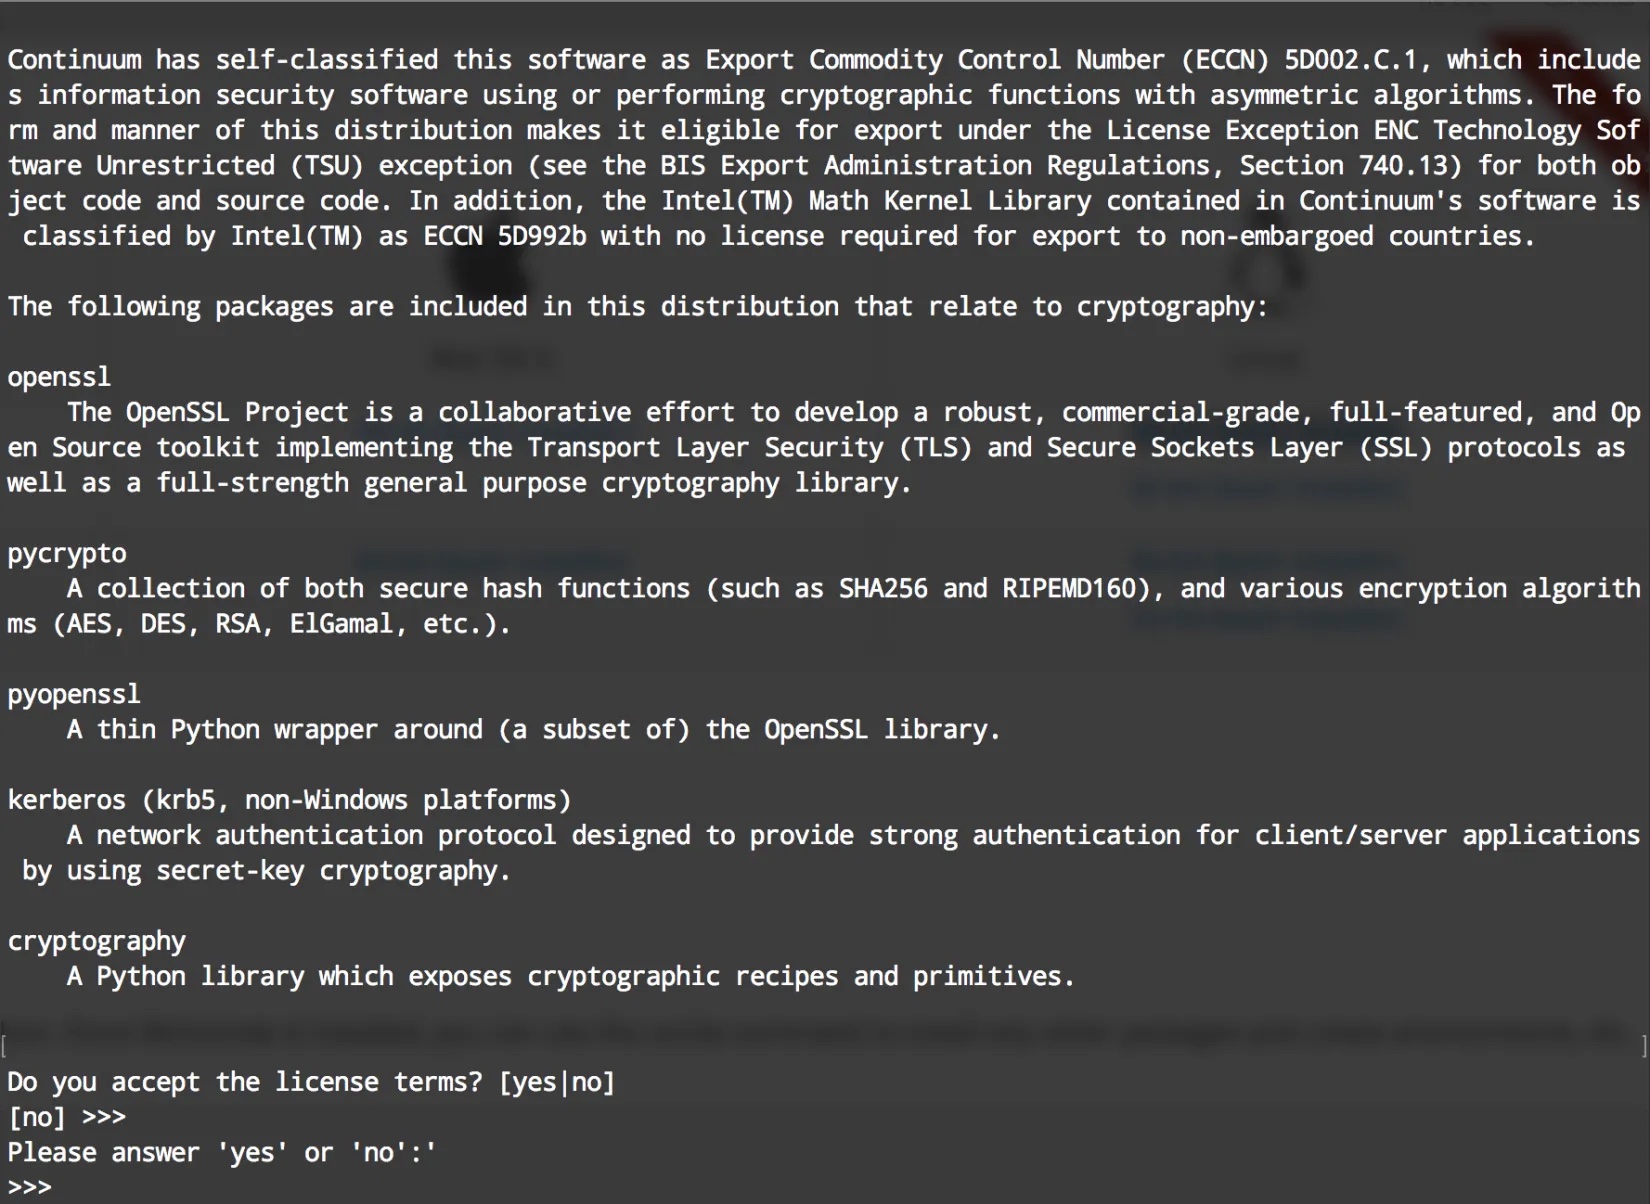
But, here, we will download Python from the Anaconda website. Download the installer for the Windows, Mac, or the Linux system. (The old repo.continuum.io address has been retired in favour of repo.anaconda.com; on an Apple-Silicon Mac use the MacOSX-arm64 installer instead.) For Windows, you will get a .exe extension file, double-click the file and follow the installation procedure.For Mac and Linux system, the file will be with the extension .sh (a shell- script). You can open your favorite terminal, navigate to the directory containing the downloaded Miniconda installation file. Then, you can simply type sh Miniconda*.sh and follow the steps prompted. You will be asked to accept the license and enter your installation location. If you don’t have any preferred location then the installer will install Miniconda in your home directory.
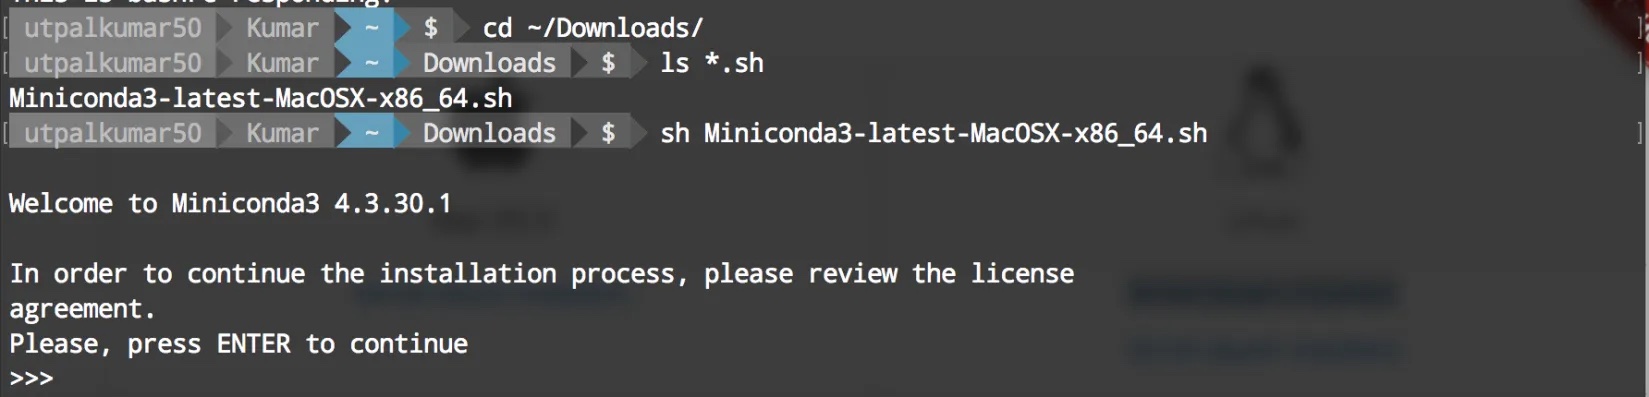

Miniconda Install
Now, Miniconda, as well as Python 3.6, has been installed on your machine. We need some more Python libraries to get going. We can easily install these now using Miniconda. Open your terminal and type conda install jupyter notebook pandas numpy matplotlib.
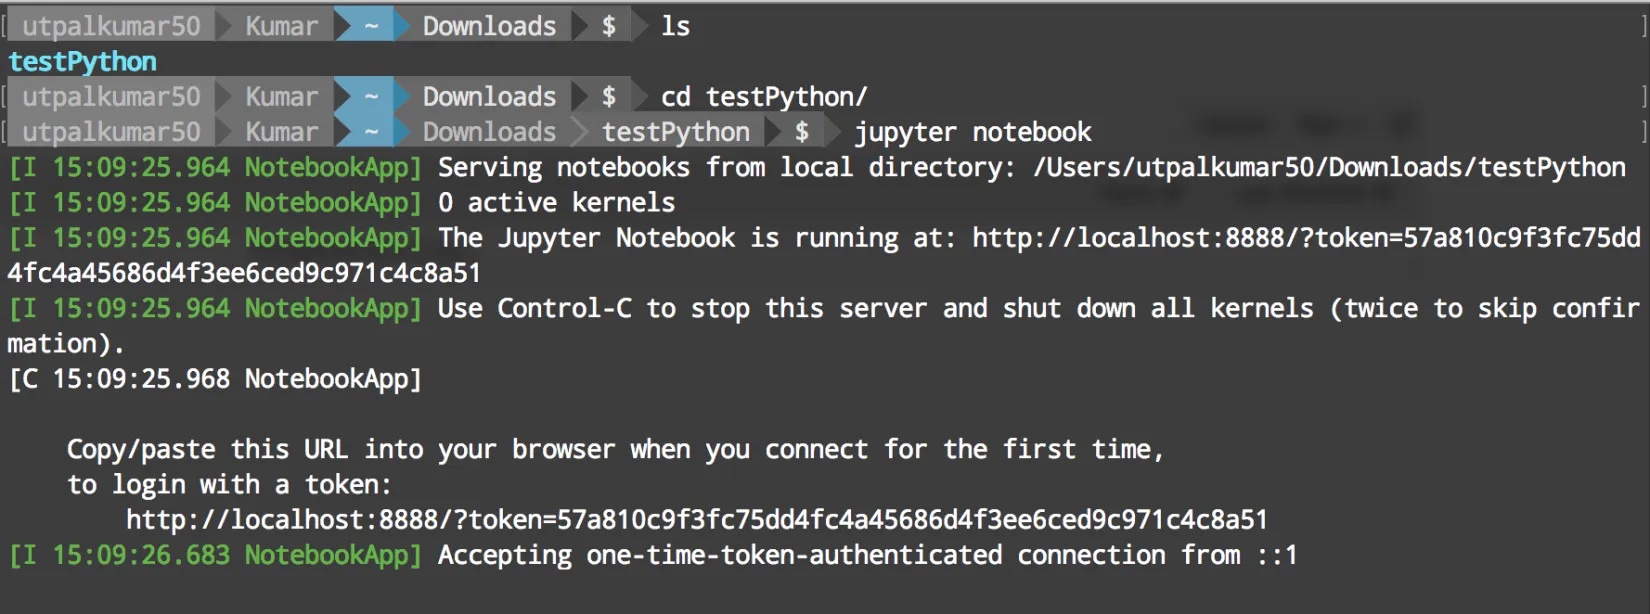
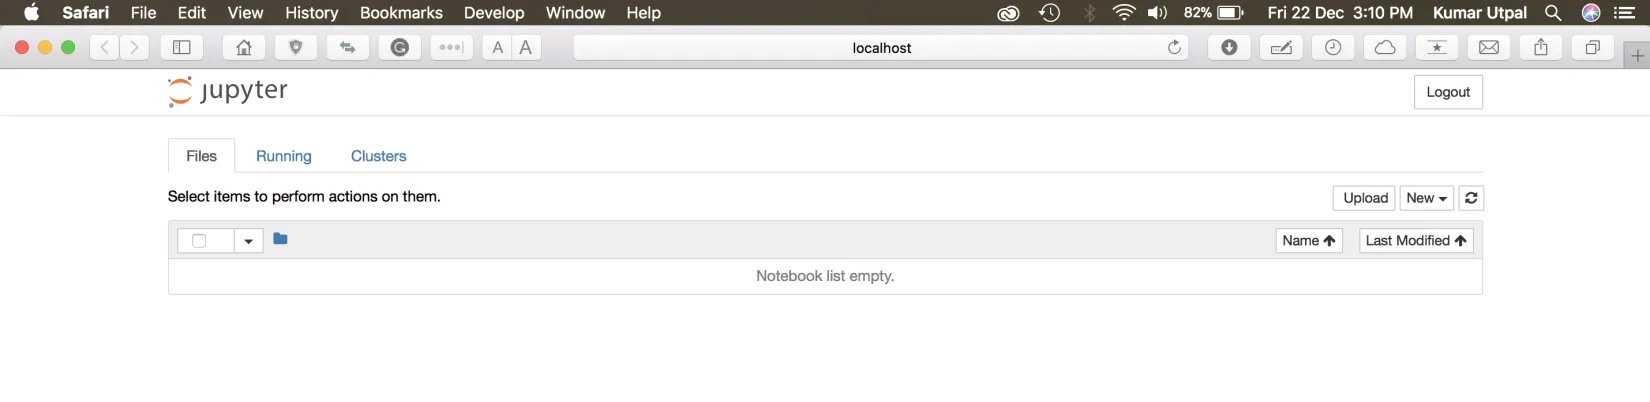
We now have all the necessary libraries to get started with Python. Let us open a terminal again and simply type jupyter notebook to launch jupyter notebook. Jupyter notebook is a very popular interface which makes using Python a fun experience. It has all the features to make things simpler and useful. You can even run the shell command in the notebook. Over that, you can write your notes using the Markdown language, which is a very straight-forward language for writing. I strongly recommend you to learn Markdown. It won’t take more than 10 minutes to learn and will be useful in so many other places.
First Python Script
Now, that we have all the necessary tools to use Python then let’s use python to make a very simple plot.
- First, start jupyter notebook by typing
jupyter notebookon your terminal. - Now, go to the “New” tab at the top right corner and then select “Python 3”. It will open a new page for you.
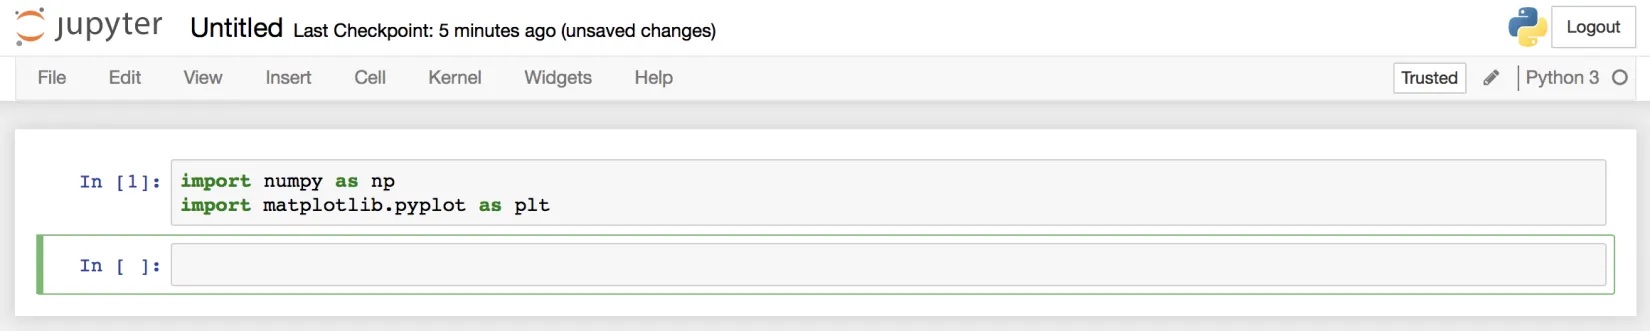
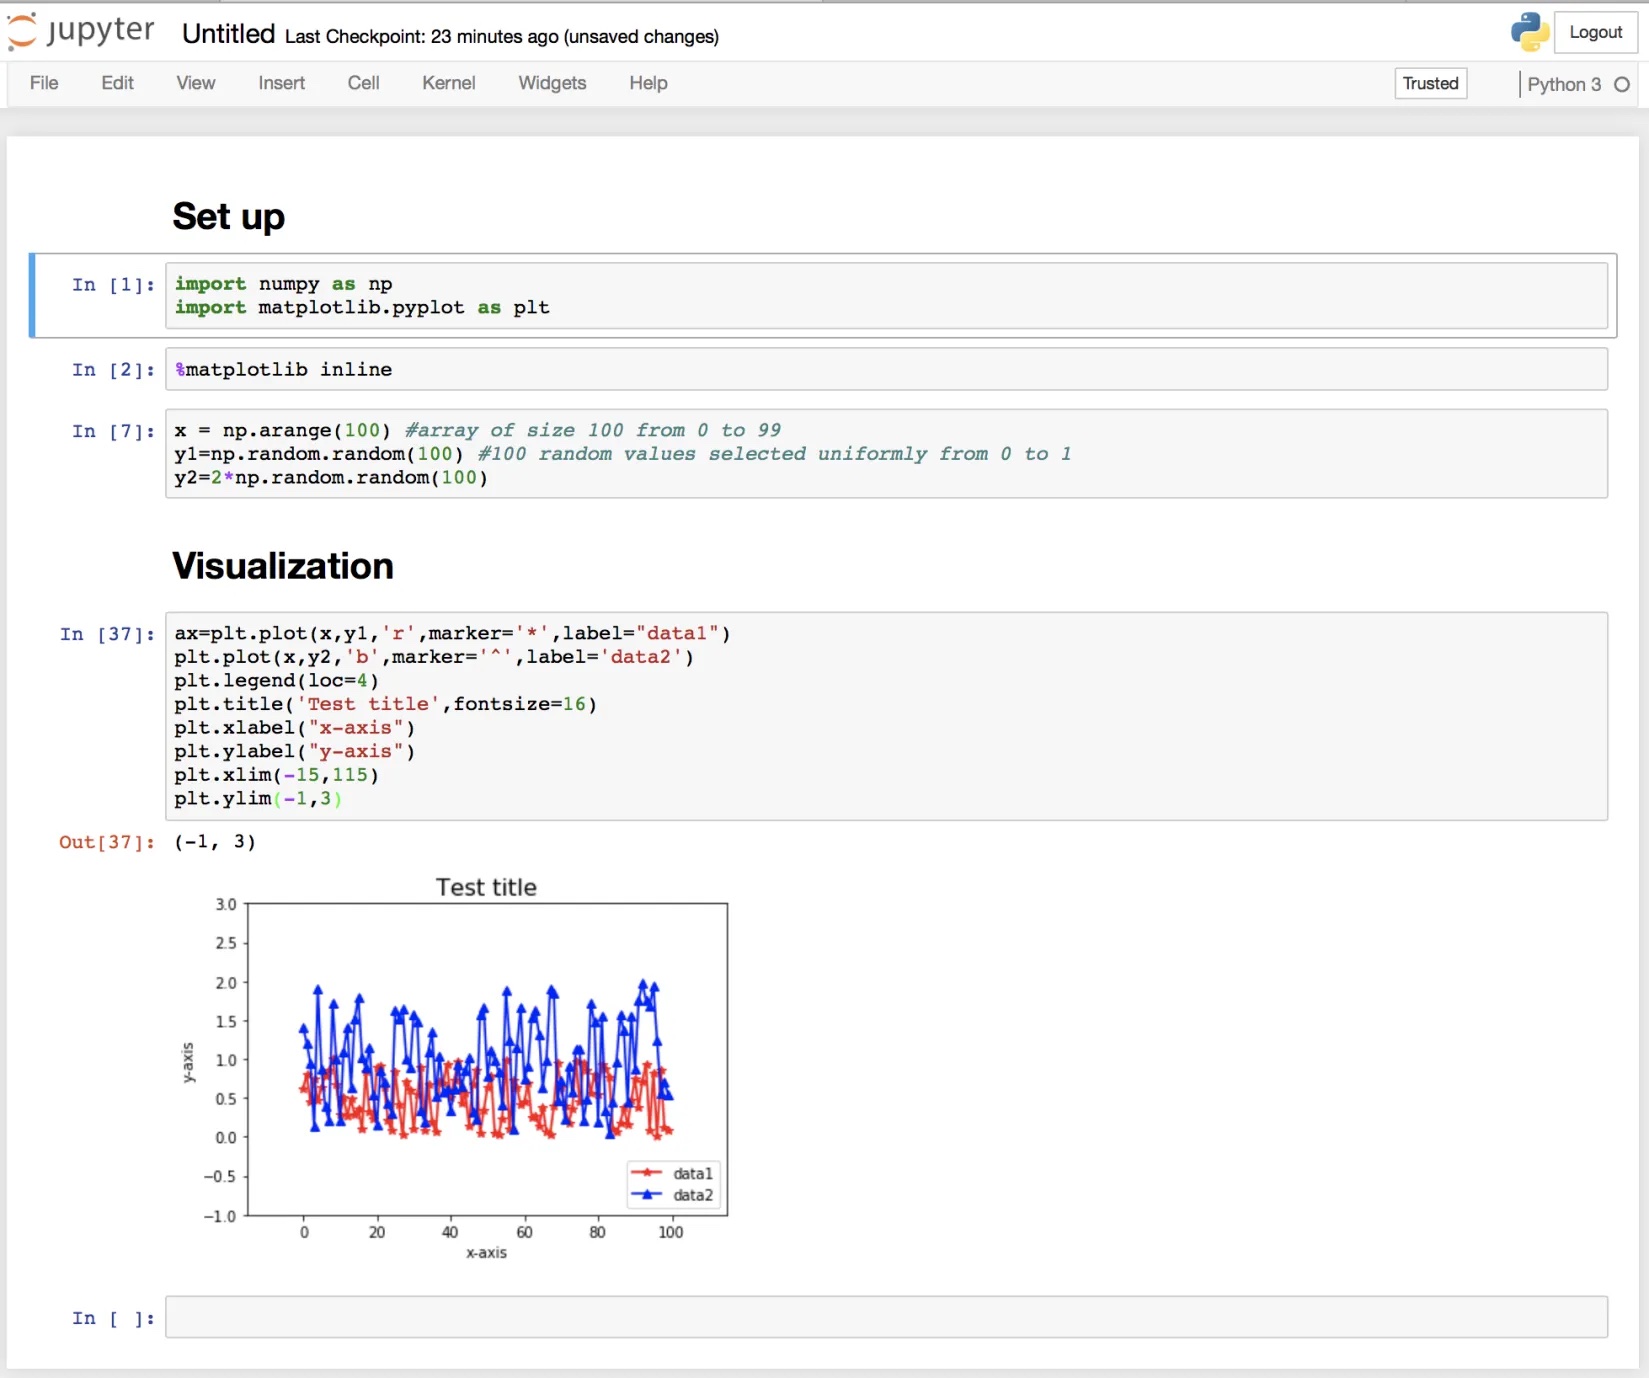
- Let’s import some libraries which we have installed using the conda by typing the command as directed in the figure below. To execute the command, use the
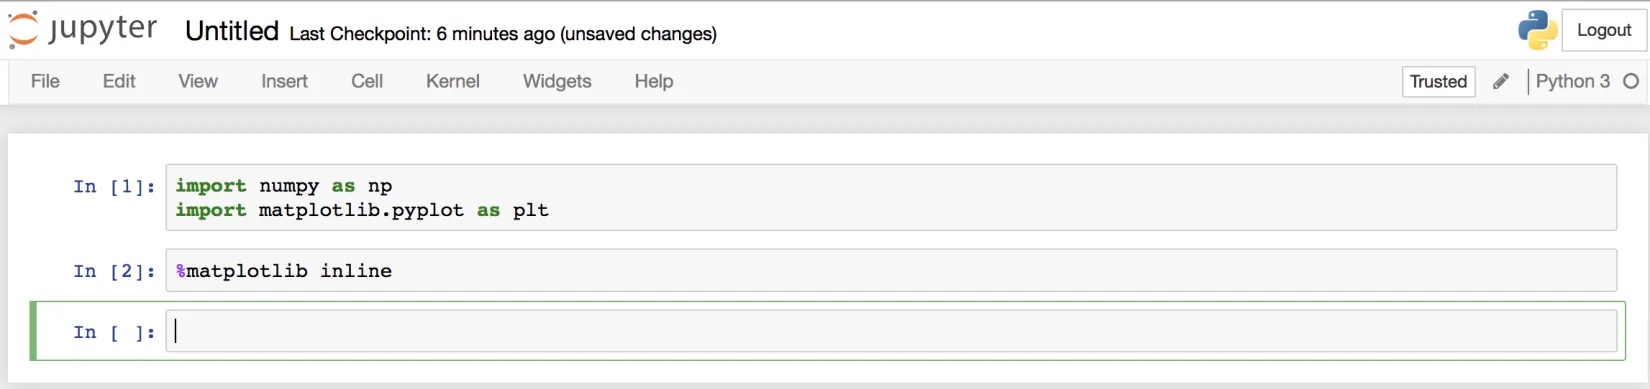
Command/Ctrl + Enterkey. - We also need to execute the command
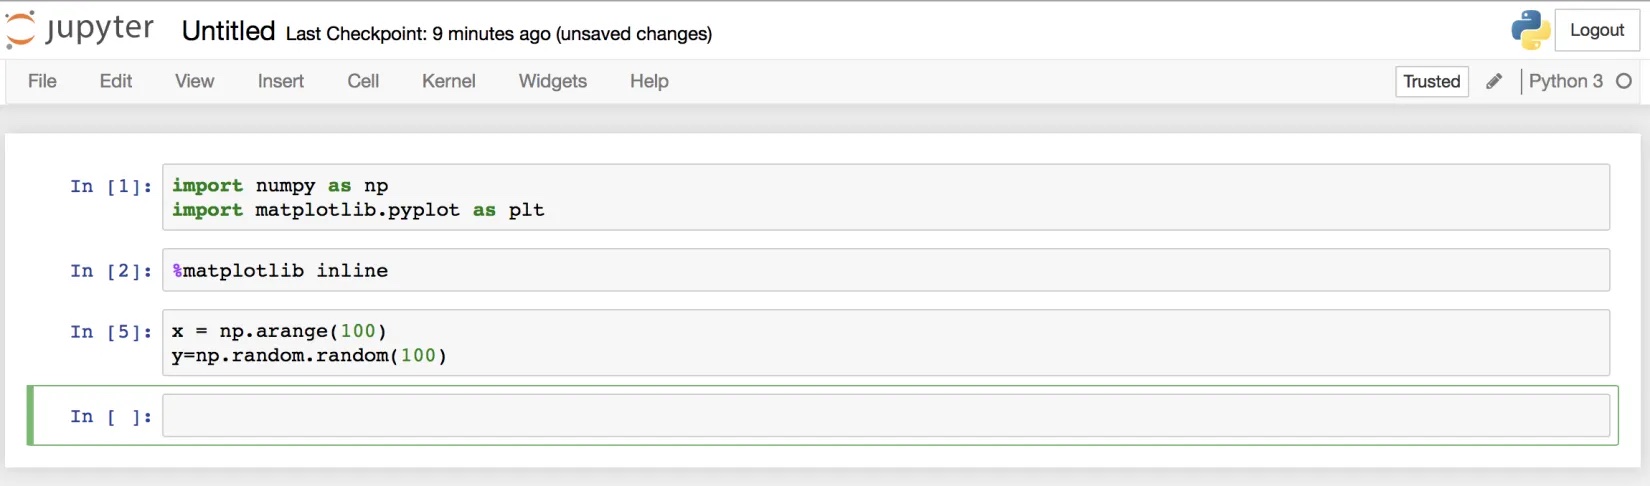
%matplotlib inlineto keep our plots inline in the notebook. This is one of the many features of jupyter notebook. - Let’s define our x and y values using the [numpy](https://www.earthinversion.com/utilities/introduction-to-scientific-computing-using-numpy-python/) library which we have imported as
npfor short-form. - Let’s plot our data.
Jupyter in your default browser.

Quick check: You installed Miniconda and now want the pandas library. What do you run?
pip install jupyterconda install pandaspython 2.7- Nothing — Miniconda already ships every library
Recap
- Python 3 is the only version to install — Python 2 has been end-of-life since 2020. Grab the latest from python.org or, as here, via Miniconda.
- Miniconda installs Python plus the
condamanager; useconda install <library>to add packages likenumpy,pandas, andmatplotlib. - Jupyter Notebook (
jupyter notebook) is an interactive, cell-by-cell interface — great for learning and quick plots;%matplotlib inlinekeeps figures in the notebook. - Python, conda, and Jupyter are different layers that stack — none replaces the others.
Where to go next
- Introduction to scientific computing with NumPy — arrays and vectorized math, the foundation of scientific Python.
- How to start using pandas for Earth data analysis — load and manipulate tabular data.
- The right way to loop in Python — write faster, cleaner loops once you know the basics.
Disclaimer of liability
The information provided by the Earth Inversion is made available for educational purposes only.
Whilst we endeavor to keep the information up-to-date and correct. Earth Inversion makes no representations or warranties of any kind, express or implied about the completeness, accuracy, reliability, suitability or availability with respect to the website or the information, products, services or related graphics content on the website for any purpose.
UNDER NO CIRCUMSTANCE SHALL WE HAVE ANY LIABILITY TO YOU FOR ANY LOSS OR DAMAGE OF ANY KIND INCURRED AS A RESULT OF THE USE OF THE SITE OR RELIANCE ON ANY INFORMATION PROVIDED ON THE SITE. ANY RELIANCE YOU PLACED ON SUCH MATERIAL IS THEREFORE STRICTLY AT YOUR OWN RISK.
Leave a comment