How to host a http server on your linux computer to share files
In this post, we will see how we can create a http webserver using Python 3. There are so many applications for such servers. One of them is the quick way to share your files to someone, or host your website or blog. You can also use paramiko module in Python to securely send files from one computer to another.
If you host your website or blog locally then you don’t need to pay hosting fee to any agent and everything will be in your reach. However, there are other benefits of hosting your website through a good web-hosting platform. I will not go into that details in this post.
Key idea — one command turns the current folder into a website. python -m http.server starts a tiny web server that serves whatever directory you run it from (and everything beneath it) over your local network. No install, no config, no framework — it’s built into Python 3. That convenience is also the catch: it hands out those files to anyone who can reach the port, with no password and no encryption, so where you run it and which network you’re on matters a lot.
python -m http.server actually does: serves the current directory to any device on the network, unauthenticated and unencrypted.The module we will we using for hosting a http server comes by default on your Python3 installation - http.server. It is also super easy to run. Let us go through two examples.
Python 2 → 3 note. On old tutorials you’ll see python -m SimpleHTTPServer. That was Python 2; in Python 3 it became python -m http.server. If plain python points at Python 2 on your system, use python3 -m http.server.
Host your files on the http server
Let us create a directory called mywebserver. This will serve as our root of the server. THen we create two more sub-directories inside mywebserver directory.
mkdir mywebserver
cd mywebserver/
mkdir importantFiles notSoImportantFiles

Then we create some files in each subdirectories:
touch importantFiles/myFile{1..5}
touch notSoImportantFiles/myFile{1..5}
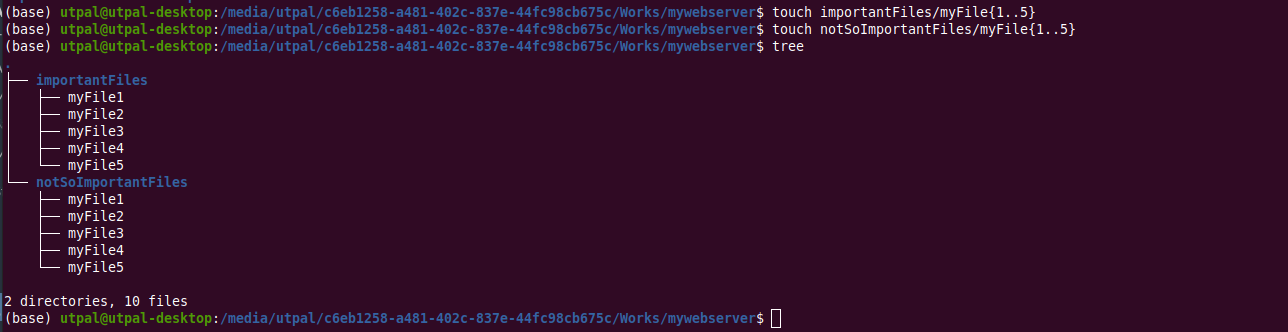
Now, we have enough to serve our server. So, let’s not delay anymore and start our server.
python -m http.server

And, we have our server serving at the ip_address:port. To check the ip address of your system, you can type:
ip addr
The default port is 8000. A few options worth knowing:
python -m http.server 9000              # use port 9000 instead of 8000
python -m http.server --bind 127.0.0.1  # localhost only — not reachable from other machines
python -m http.server --directory /path/to/share   # serve another folder without cd-ing (Python 3.7+)
--bind 127.0.0.1 is the safest way to test locally: the server is reachable only from your own machine.
That’s it. It is as easy as this to host your personal web server using Python. Please note that in some cases, your server may not be accessible from the remote computer. This may probably be because of your system’s firewall. You can stop the firewall temporarily using:
sudo systemctl stop firewalld
Don’t disable your firewall — open one port instead. Turning the firewall off exposes every service on your machine, not just this server. Prefer allowing the single port on a trusted network:
sudo ufw allow 8000/tcp            # Debian/Ubuntu (ufw)
sudo firewall-cmd --add-port=8000/tcp   # Fedora/RHEL (firewalld), add --permanent to persist
And remember what this server is: plain HTTP, no authentication. Anyone who can reach your-ip:8000 can read and download everything in the served directory. Only run it on networks you trust (home/office LAN), serve a directory that contains only what you mean to share, and stop it (Ctrl+C) when you’re done. Never expose it directly to the public internet — for that, use a real server (nginx/Apache) with TLS, or a tool like ngrok for a temporary authenticated tunnel.
Host a blog
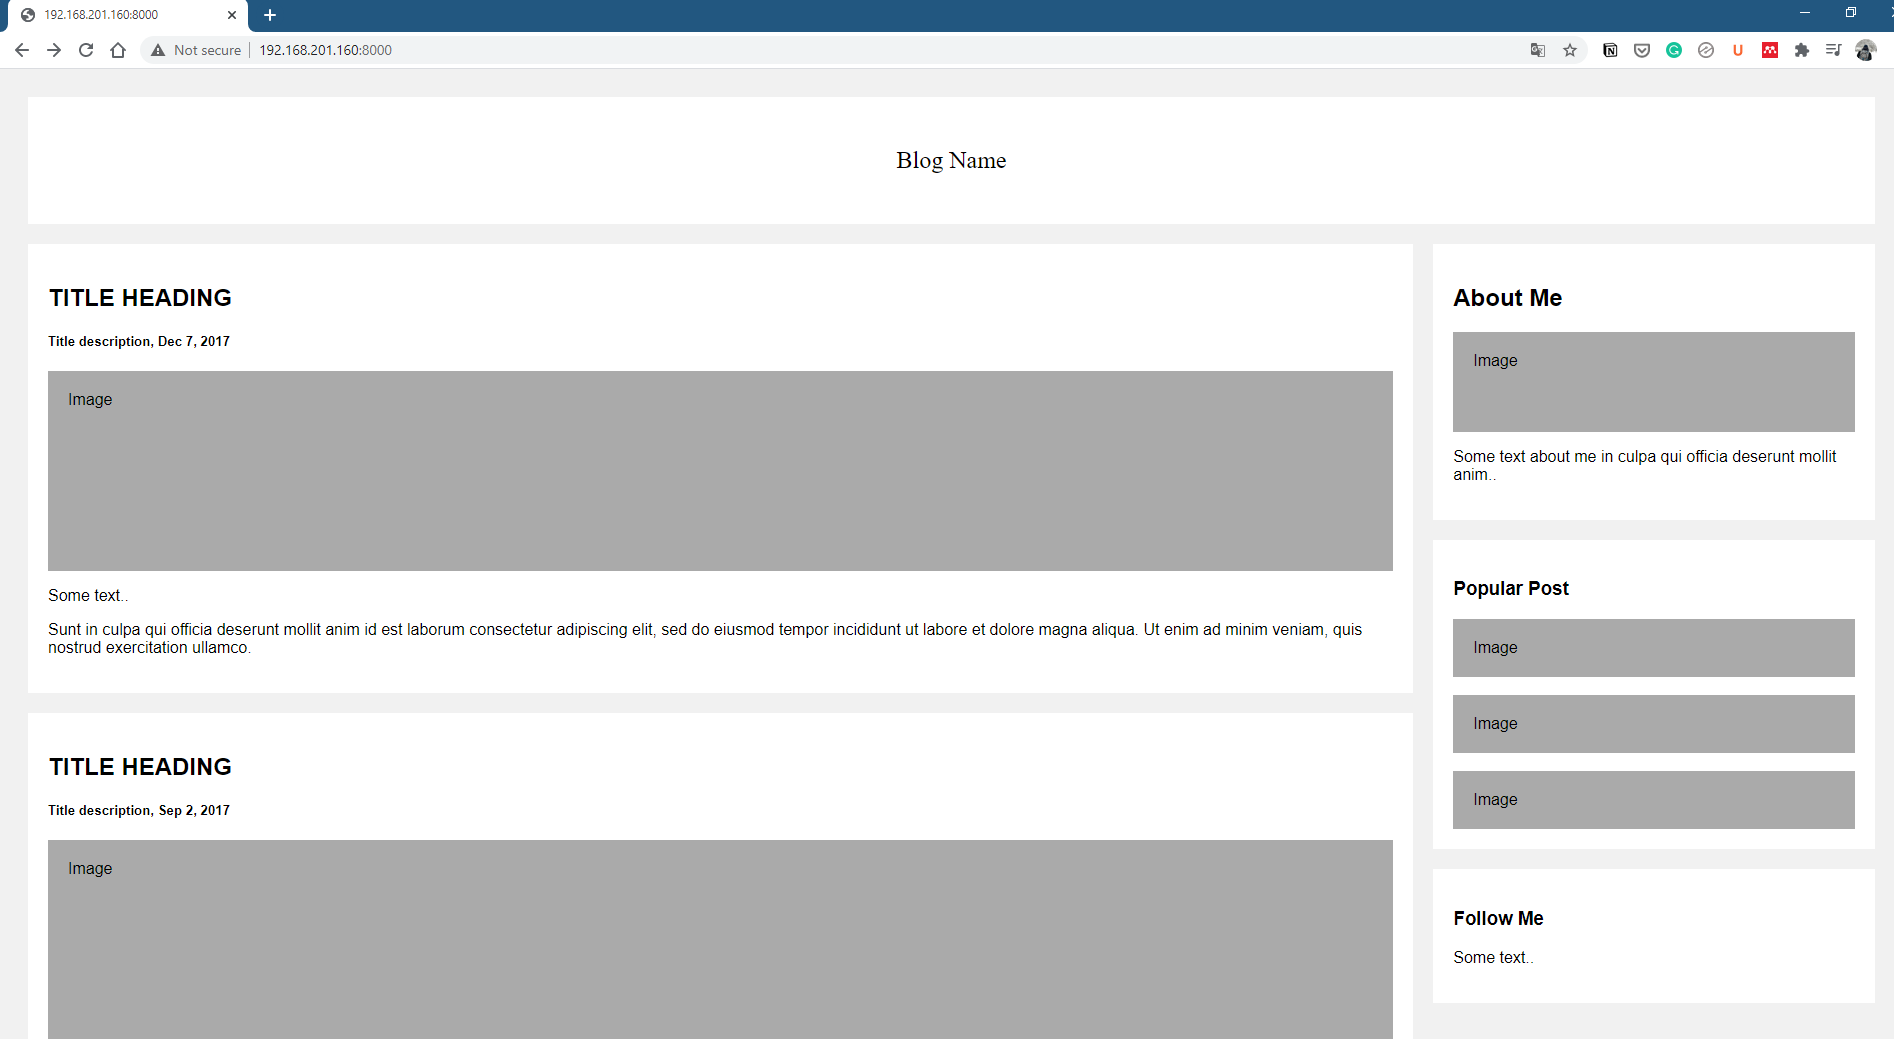
Now, we will create a very simple blog, and host it on our personal server. I will copy the html and css codes from the w3schools.com.
mkdir mypersonalBlog
cd mypersonalBlog/
touch index.html

Now open the index.html page and copy and paste the codes from w3schools.com.
Next, you can start your server.
python -m http.server
Quick check: You run python -m http.server inside your home directory to send one file to a friend. What’s the risk?
Recap
python -m http.server= instant file sharing. Built into Python 3, it serves the current directory over your LAN — no install or config.- It’s Python 3’s
SimpleHTTPServer. Usepython3 -m http.serverifpythonis Python 2. - Know the flags. Port number as an argument,
--bind 127.0.0.1to stay local-only,--directoryto serve elsewhere (3.7+). - Treat it as insecure by default. No auth, no HTTPS — serve a purpose-built folder on a trusted network, open a single firewall port (don’t disable the firewall), and never expose it to the open internet.
Where to go next
http.serverdocs: docs.python.org/3/library/http.server.html- Secure file transfer instead — Paramiko (SFTP): Sending data from local client to server using Paramiko
- A real static-site/host workflow — turn a home computer into a server: Turning your home computer into a home server
Disclaimer of liability
The information provided by the Earth Inversion is made available for educational purposes only.
Whilst we endeavor to keep the information up-to-date and correct. Earth Inversion makes no representations or warranties of any kind, express or implied about the completeness, accuracy, reliability, suitability or availability with respect to the website or the information, products, services or related graphics content on the website for any purpose.
UNDER NO CIRCUMSTANCE SHALL WE HAVE ANY LIABILITY TO YOU FOR ANY LOSS OR DAMAGE OF ANY KIND INCURRED AS A RESULT OF THE USE OF THE SITE OR RELIANCE ON ANY INFORMATION PROVIDED ON THE SITE. ANY RELIANCE YOU PLACED ON SUCH MATERIAL IS THEREFORE STRICTLY AT YOUR OWN RISK.
Leave a comment